Foundation and Concealer Application

/
0 Comments
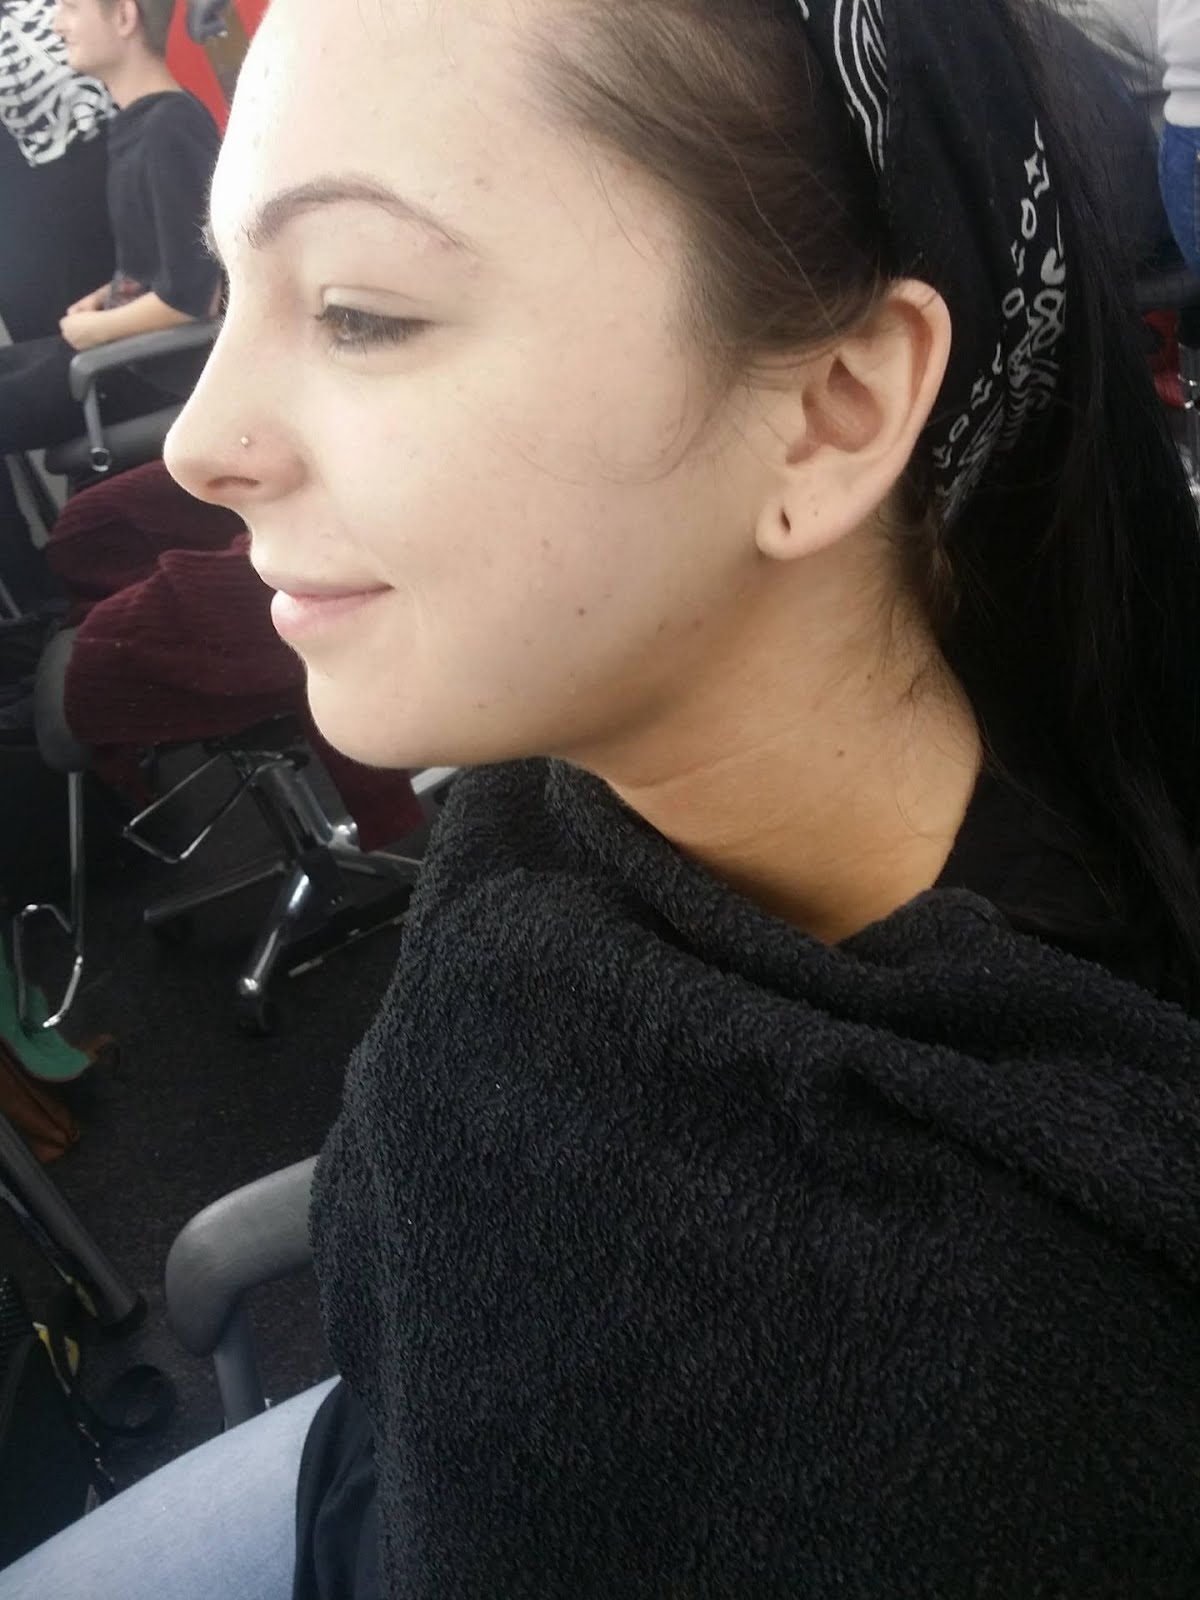
A good base is the key to any make up application. It is important take into account the skin type of the model you are working on so you can have the right products to get the best results. A model with dry skin isn't the best candidate to use a mousse foundation on as it'll adhere to the dry to skin and end up flaking. It does also oxidize on the skin as well so it may dry with an orange tinge- which no one wants.

 Products needed:

- Cleanser
- Toner
- Moisturiser
- Primer
- Foundation
- Concealer
- Powder

 Application:

 1. Using cotton pads apply the cleanser to the face. Always sweeping upwards so you aren't dragging the skin. In the long term this will prevent unnecessary wrinkles or trauma lines.

2. After the skin is clean and clear of any previous make up application, using cotton pads again wipe the face over using the same upward strokes. This refreshes the skin and gets the last of any make up off

3. Put some moisturizer on your clean hands and warm up the cream.

4. Massage into your model's face. It's almost like a mini facial. This stage is crucial as it is putting the moisture into the skin that has been taken out from the cleansing and toning process.

5. If necessary, allow time for the moisturizer to be absorbed into the skin and repeat step 4 if the model has dry skin

6. Depending on the finish you want from your base apply the correct primer. If you want a matte finish, use a primer with a mattifying formula. If you want a slightly dewy look to the skin, use a satin finish. You may need to apply a corrective primer to remove red tones of the skin. Apply this as you would do a  moisturizer.

7. Taking the foundation you are using mix up the shade you think your model is going to be. It's very rare for someone to be the exact bottled shade. Do this using the back of your hand and a spatula. It's import to make sure you warm the products up while you mix them to get a true shade.

8. Using the spatula swatch the foundation shade down the jawline and onto the neck. The colour should disappear when it's the right colour, if it isn't the correct add another colour that'll make the shade warmer or cooler depending on what you need.

9. Using a foundation, apply the mix from the back of your hand the face. Starting on the nose work outwards and make sure it's applied evenly. Make note of the colours you've used to make the foundation so if you need to make up more. Apply all over the face all the way up the hairline, do the neck. (Check your brief to see how far down you have to take the foundation. It may be a V neck top, in that case you will need to bring the foundation down to the neckline of the outfit) Apply to the ears and inside them. As you don't the face and neck the ears may still be red and it'll pick on film if you don't do them.

9. Concealing! It's important to be aware of you're models skin. They may have blemishes that need to be concealed or dark circles under the eyes. The trick to a good concealer application is colour theory. Correcting dark circles is fairly simple. It's just making sure there is quite a bit of a yellow tone in the concealer that you will be using. Light reflecting concealers are not suitable for blemishes as it just draws attention to the raised skin. Mix up the concealer in the same way you do with foundation apply it using cleaner fingers or a concealer brush. When applying it to the under eye are don't bring it down to low as it'll have what I call a 'Pale Eyed Panda' Effect.

10. Be sure to be constantly looking in the mirror at the work you are doing to get a realistic view of the work you've done.

11. Dispensing the powder you need onto the back of your clean hand, use a powder brush to sweep it over the face and remove any shine. For a heavier finer 'Roll' it on using a powder puff, using rolling motions onto the skin. This is normally done on the forehead and it's great for people with an oily skin type as it's almost like a 'powder insurance'


You may also like

No comments :

Powered by Blogger.